Visit Us On Our Other Channels

Our DIY Homestead

Making Homesteading Accessible to All

Easy to Make DIY Chicken/Poultry Feeder

We are going to be checking out this DIY chicken/poultry feeder that Ron made. He referenced it in an earlier video and just wanted to elaborate a little bit more and wanted of tear one apart and show you how it was made.
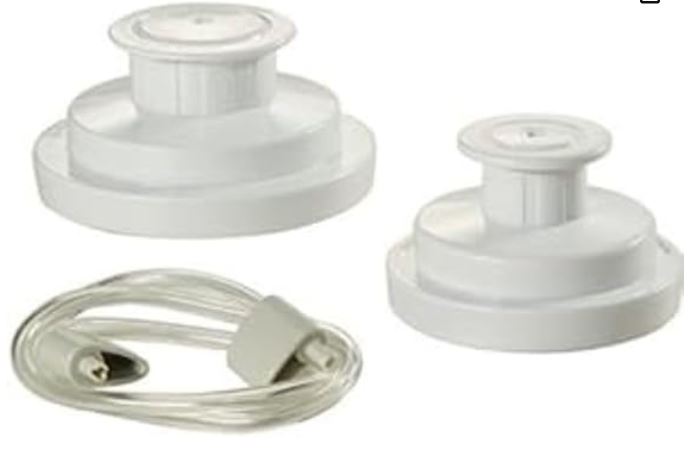
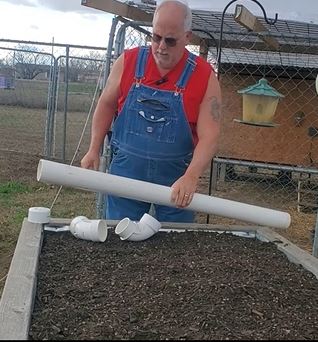
Parts of the Feeder

Lets will go through all the parts of the feeder. We start with a 10 ft piece of 3 inch PVC that we cut in half. This will create two 5 feet tall feeders. For each feeder you will also need a 90 degree 3 inch street elbow and a 45 degree regular elbow and then a 3 inch cap to go on the top of the feeder.

To Glue or Not to Glue


Ron didn’t glue any of the pieces together because he wants to be able to pull it apart and clean it. He really wants to keep it clean for the hens making it healthier for them.

Taking the 5 foot PVC pipe and then he has the street elbow, and a street elbow is where one pipe on one side will  fit inside of the elbow and the other side will fit on the outside so it it’s kind of easy to put together. Then add the regular 45 degree elbow which will go on the end of the street elbow. Then put on the 3 inch cap that will go on the top to keep the water 
from coming in from the top side.

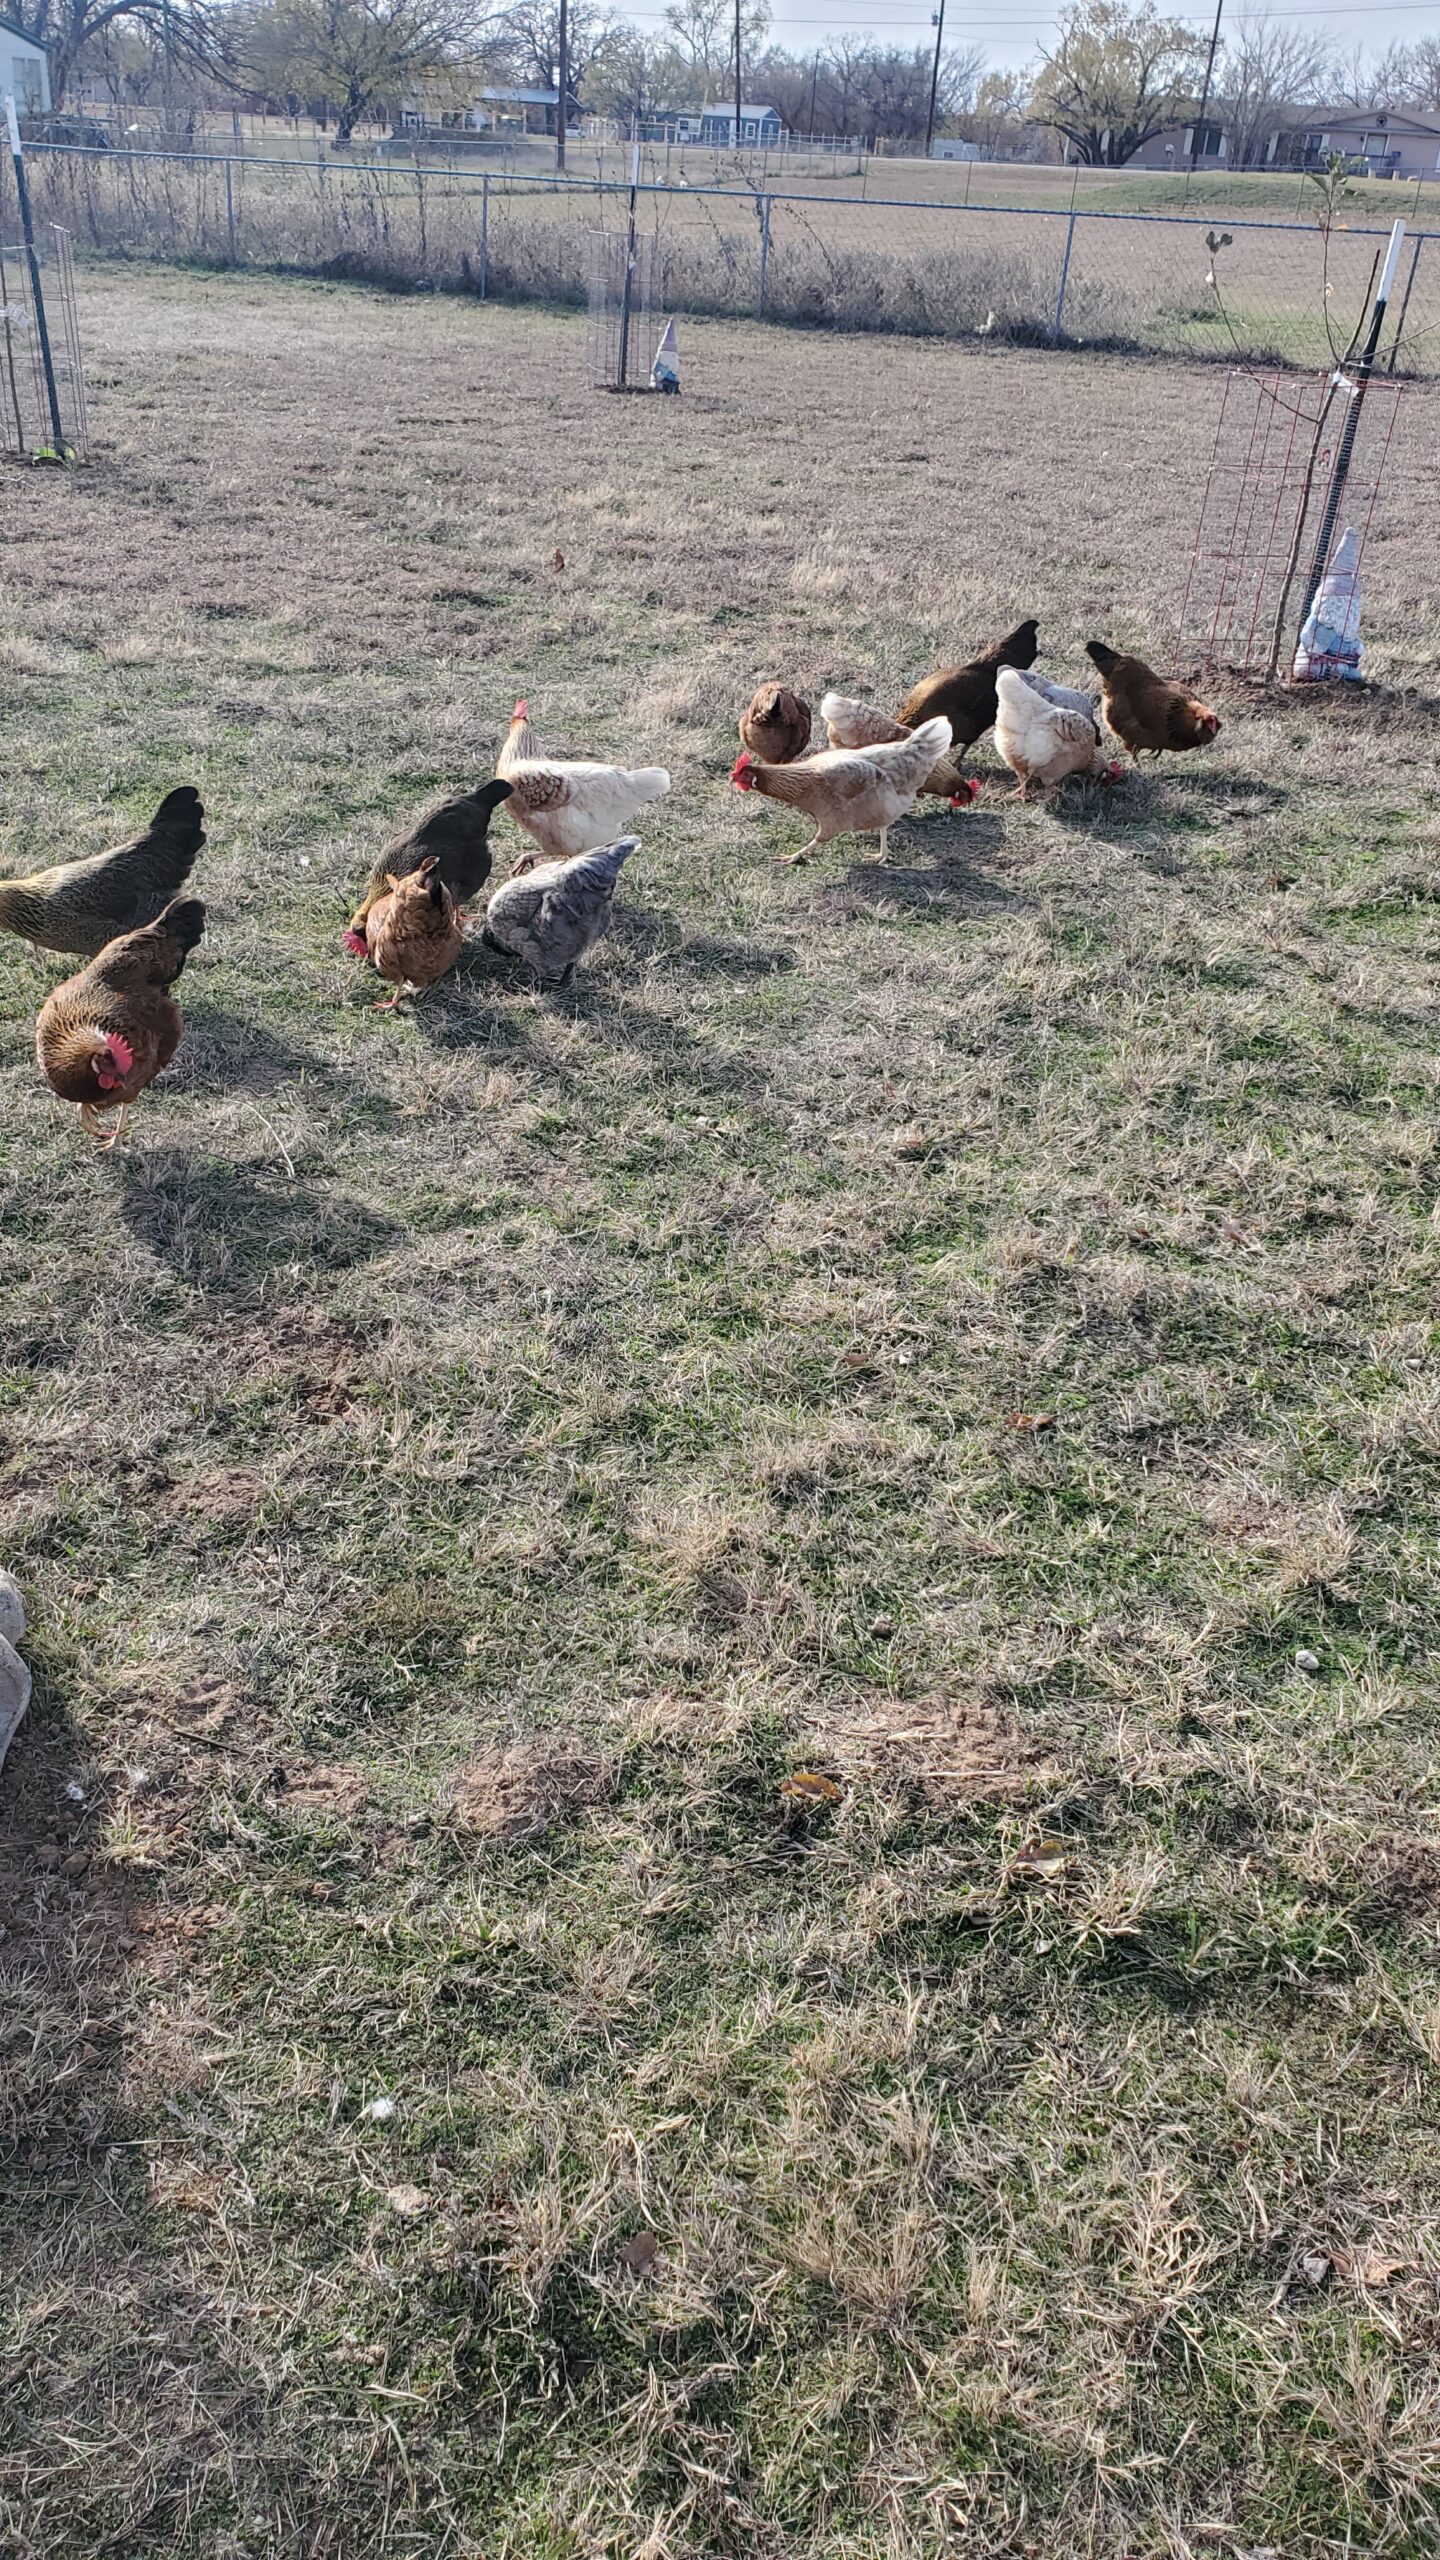
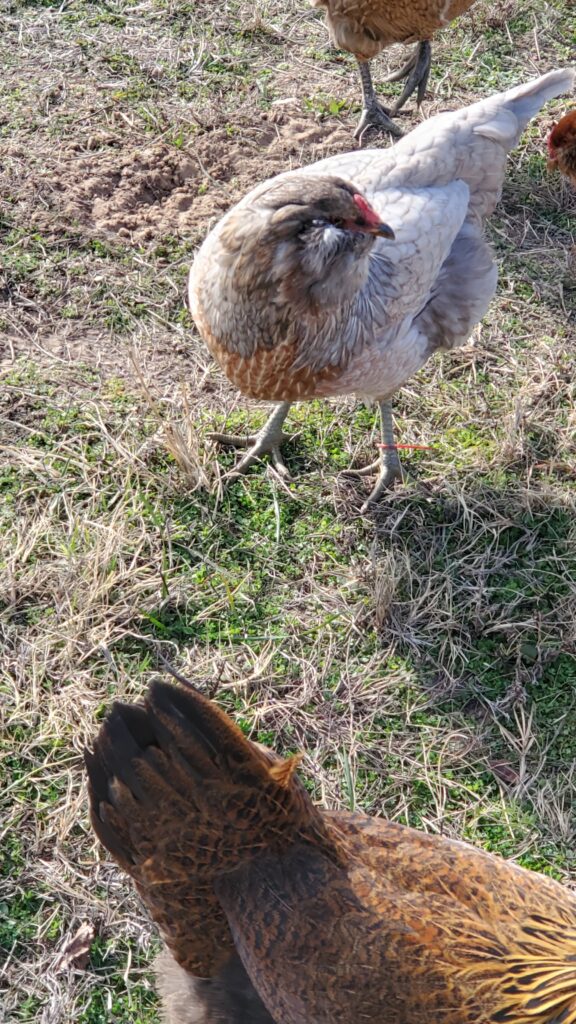
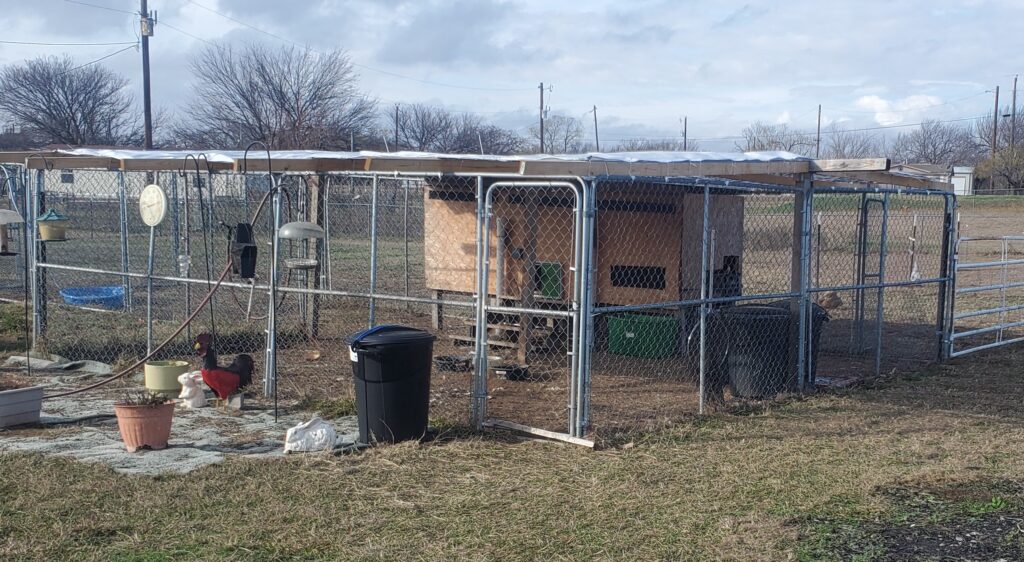
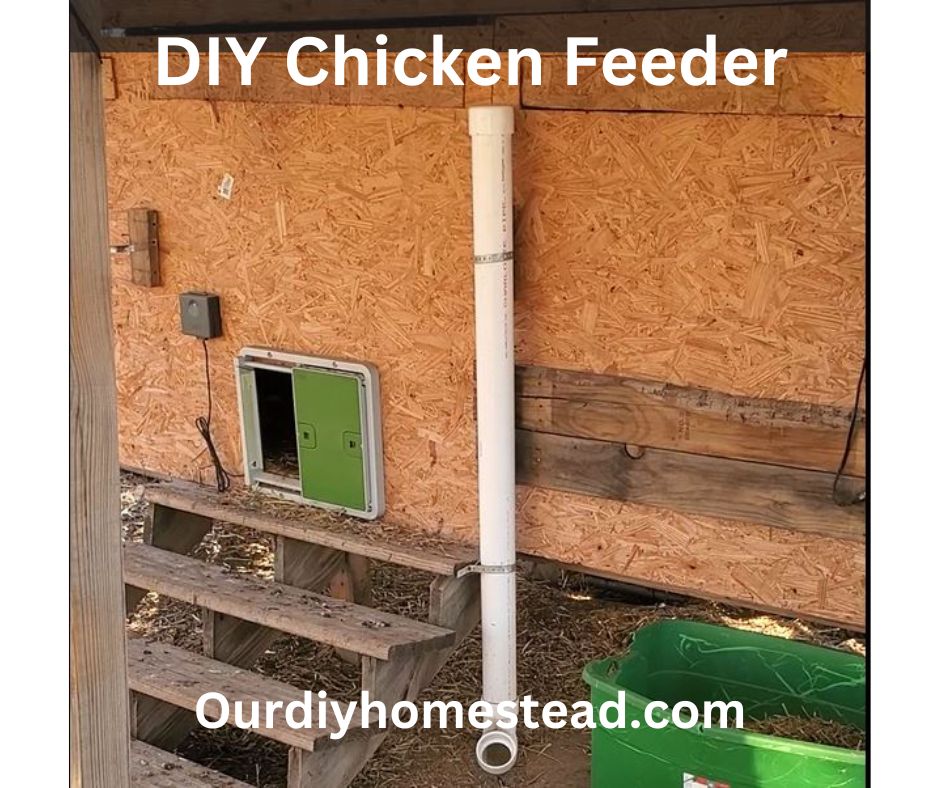
Mounting and Filling the Chicken Feeder

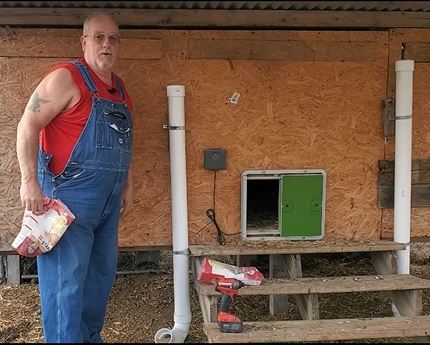
We mount our feeders to the front of our coop using plumber’s tape. After it is secure, fill it up and it is ready for your chickens to use. Ron will show you how to do this project from start to finish.

Here is to your homesteading dreams,

Shawn

Gardening With Less Water

If you like to read during the winter months like I do. I have a great book review for you. Gardening with less water, low-tech, low-cost techniques use up to 90% less water in your garden. by David A. Bainbridge. Since I live in North Texas the title of this book intrigued me. I want to know of any type of watering for my garden that uses less water and is low-tech!

Super-Efficient Irrigation Systems

The first part of this book goes over different irrigation systems. He talks about buried clay pots and porous containers. Something I learned about are ollas. These are porous clay pots that you bury in your garden beds. Then they are filled with water and the pots hold the water until the soil is dry then the water seeps out at root level. It is said that the water lasts for a longer time.

It also talks about deep pipes. These are also made out of pvc pipe with holes drilled into it. You can bury the pipes up to a couple of feet. When watering the trees you water down the pipes so that the water gets to the roots of the trees. We have used these pipes with the fruit trees we have planted and they seem to work well.

He does go over some other irrigation systems and they all seem like great systems and what I like about all of them is that they are easy to implement.

Taking it to the second level

The second half of the book goes over how to be water wise. This was probably my favorite part of the book. It talks about rainwater harvesting, grey water usage, and water catchments.

And then it discusses in the last chapter of the book about our water future. The importance of being water wise in our immediate homes, in our communities, educating ourselves and others throughout the world.

I hope that this was of interest to you especially if you garden in extremely hot weather. I enjoyed the book and refer back to it as we are getting ready to put systems in place. You can check out a video I did about the book here.

Here is to your homesteading dreams,

Shawn

Disclosure: Some of the links above are affiliate links. This means that, at zero cost to you, I will earn an affiliate commission if you click through the link and finalize a purchase.

The Story of a Seed

I believe that the story of a seed holds wonder and creation within itself. Looking at one little seed it can be hard to believe that there is life just waiting to burst forth. To me it doesn’t matter what life is inside, it can be a flower, vegetable or herb. I love the way God created a seed, let me explain more here. Within that little seed it has all it needs for the first few weeks to take care of itself. Give it a little dirt and water and then stand back it can take care of the rest. We have learned to do the menial jobs of taking care of the seeds that we plant and at just the right time the beauty from the seed emerges and is the reward for all hard work we have done.

Seedlings

I have shared with you in the past that I don’t have a green house but I do have a grow room. My gardening zone is 8a and that is only important in my story because it tells you that I start my seeds on January 1st. I did that this year and as of this writing it is now January 31st. I have planted a lot of seeds and I now have a lot of seedlings! It makes my heart so happy I could spend all day in my grow room with my seedlings. I’m transplanting them into larger containers and just now am adding to the soil a little bone meal to help with the transplanting shock. The seed didn’t need anything from me except for dirt and water up to this point.

Plants

Now most of my plants have their true leaves; which means leaves that will look and function like the leaves the plant will have for the rest of its life. I will transplant them usually into larger containers to keep them in until it is time for them to go into the ground. At this time I usually use a little fertilizer to keep them healthy until it is time for them to go outside.

P.S. I shot a video a few years back explaining how old a seed can be before it’s not viable anymore. Feel free to take a look.

Here is to your homesteading dreams,

Shawn

Disclosure: Some of the links above are affiliate links. This means that, at zero cost to you, I will earn an affiliate commission if you click through the link and finalize a purchase.

The Best DIY Soil Sifter

Soil sifters…you are a gardener, aren’t you? See, I know you are a gardener because nobody else will get the thrill of a soil sifter like us gardeners. I have tried so many different ways of getting large chunks of bark, small gravel pieces and rock hard soil that is bonded together out of my soil! I’ve used a plastic fork to rake the chunks out of my way , I’ve spent hours picking large wood pieces out of the soil. Some might say go get some seed starter mix. I never seem to have that when I’m ready to start seeds. I always have chunky soil laying around somewhere.

The Dream Is Real

I’ve been bringing up the idea to Ron about needing a soil sifter for awhile. So, this winter as I’m getting everything out to start seeds I sighed to Ron again about needing one. I was happily surprised as he started to gather the materials and fulfilled the soil sifter dream that I have had.

Building the Soil Sifter

Most of the things we build are from scraps that Ron has from other projects and this is no different. The wood was from his pile of lumber. He did buy a fresh roll of screen that would work for the project. If you are handy with a saw to cut your wood to the length you want; know how to use a stapler and a screw gun then you can make your very own DIY Soil Sifter. I will leave you in the capable hands of the guy who built me mine. Check out the video he created while putting together my DIY soil sifter. I’m going to have to paint it! What color do you think? Red, yellow, blue?

I would love it if you built one and sent me a video showing me! So, happy seed starting, I know it might be early for some of you all but I know the dream is real for all of us.

Here is to your homesteading dreams,

Shawn

Beautiful Garden Seeds

Garden Seeds

I dream about beautiful garden seeds do you? It’s in the air, do you feel it? There is frost in the forecast and a tingle in my fingers. The garden catalogs are here and decisions are being made. Well, at least for the most part, I’m not making any decisions. Like I mentioned in my last video, I have old seeds and have wondered if they will germinate. So, does the age of a seed matter? It’s a question I’m really asking myself because a lot of my seeds are old but I will be sprouting them to help find the seeds that are in the best condition.

When to Start Garden Seeds

The question of when to start seeds is hard to answer since it depends on where you live. I am in zone 8a. If you aren’t sure what a zone is or how it pertains to your garden all you have to do is google garden zone by zip code and you will find out what your hardiness zone is. This is information that will help you know when you can plant in the Spring and also how late in the season your garden will survive. Think of it as your first and last frost dates.

What Garden Seeds to Start

I’m a simple person and enjoy the simple things of life so when I’m asked the question of what should I grow? My answer is always what do you eat? I’ll tell you more about it here. We love lettuces, tomatoes, and peppers. There are other things that we like such as eggplant and celery but we stay away from things we don’t care for such as okra and squash. We wouldn’t eat those and I won’t give up the space for that while others may.

However, there is one thing that I plant now that I never use to and that is flowers. They are so pretty and add so much to the garden both in looks and with drawing in pollinators. These pollinators are so important to the garden and having a successful crop.

Show and Tell

If you want to see how I start my seeds please check out my YouTube video here. You will see how simple it is and what a great reward comes from one little seed.

Let me know what seeds you are starting.

Here is to your homesteading dreams,

Shawn

egg mobile

The First OG Egg Mobile

We have a group of hens that lay beautiful colored eggs, from green, blue, and different colors of brown. Lately, our girls are laying more eggs then what we can eat. I’ve done a lot to store eggs such as water glassing them, I make hard boiled eggs, make egg sandwiches, the list goes on but we still have more eggs then what we can handle.

So Ron has put together our first OG Egg Mobile. We thought it would be a great way to offer eggs to the neighbors. It’s a cute, short video that I thought you would enjoy.

The Colored Egg Society

We also created the Colored Egg Society which is a membership where we sell homestead eggs, and homestead butchered poultry. Also, if you would just like to keep updated on our hens and their antics, you can join the membership (it’s free).

At this time we are only offering eggs to the Dallas, Ft. Worth Texas (Tarrant or Parker county) area. Our members will have to come to the homestead bi-weekly or once a month to pick up the eggs. Members have first come, first serve opportunities. We told you how our poultry are cared for, how they are raised. Believe me everything is very tasty!

We offer a guarantee of satisfaction. And no price gouging. Prices are set for a year.

Here is the information about the Colored Egg Society..

Here is to your homesteading dreams,

Shawn

Canning suger

Oh Sugar! Guide to Canning Sugar

On our last grocery haul it was time for us to go stock up on the sugar. I like to have a stockpile on consumables such as flour and sugar. There are many reasons for stocking up on these kitchen necessities. One, you have the items when you need them. Two, this is a financial reason; you get to lock in the price for 6 months to a year. You can hear more of my reasons about canning sugar here.

Storing Sugar

Here is my favorite way of storing all of this sugar that we buy. It’s super easy and protects your sugar at the same time. There are a couple of things you will need to can sugar.

  • Canning jars and lids, you can use any size of jar you like and you can reuse the canning lids as well.
  • vacuum sealer
  • jar sealer

Fill your jars with sugar, put your lid on the jar. Put your jar sealer over the lid and press the button on the vacuum sealer. After it runs it should put a vacuum seal on the lid so it doesn’t come off the jar.

Putting the Sugar Away

Now, this doesn’t give the protection of canning which uses heat to kill bacteria in the food. What this does do is puts the sugar in containers that the vermin can’t get into. Puts the sugar in usable size containers for easy use. It also puts a suction on the opening of the jars which gives another layer of protection.

Fixing the Problems

One problem we run into is finding a place to store the sugar. I already have the pantry full of other items, however just getting a little creative will solve that problem. Put the jars under the bed, in the bottom of a bookcase, under your couch. We put our extra sugar in our closet. It’s long and offers a great spot for it.

I really hope that I have convinced you to store up on some of your consumables for cooking and baking. Also, that it doesn’t seem so scary and that thinking out of the box you can store these for a longer period of time in unconventional spots.

Here is to your homesteading dreams,

Shawn

Learning About the Chicken Chores

Learning about the chicken chores, it’s funny how 14 cute little chickens can take up so much time and attention. That is exactly what our hens are doing with Ron and I. They are close to the house, maybe to close but I can enjoy them from the living room window so I’m ok with where they are. Plus, I love to hear them cackle after they lay an egg and squawk as they eat bugs out in their run. However, I’m not very involved in their day-to-day care so I found the video Ron did this week very informative.

Scraping It Together

My husband can build just about anything and he built the original run and their coop. He used mostly scrap wood to complete the project. One thing to keep in mind is that the run and especially their coop needs to offer them protection from the weather and from predators. You can see what he did here. If you have access to a pallet it is easy enough to put up the walls and a roof for a nice, inexpensive shelter for your chickens. He added the side wing to the main chicken run and the roof after we got the main coop finished.

Chicken Chores

Probably the most important chicken chore to learn about is watering the chickens. It’s always important but if it is in the middle of a Texas drought chickens need to be watered at least once a day if not more. Something we didn’t know is how much they like to play in water. Ron is always scrubbing out the water buckets because of dirty feet splashing in the water.

Of course, feeding them is also important. Ron made their feed tubes to help keep their feed clean and dry. He explains it really well in the video which you can watch here. He says that the tubes hold about 15 pounds of feed and last our 14 hens a week to a week and a half.

Worth It?

So after hearing about the shelter chickens need and the feeding and watering chores you might ask yourself if it’s worth having chickens. Ron and I think so, it’s not unheard of to go sit in the back and watch the girls (hens). But really, only you can answer that question.

2 gates and chickens

Here is to your homesteading dreams,

Shawn

Adding Aloe Vera to the Chicken Yard

I have a project that we are working toward setting up in the Spring. Setting up a food forest for our chickens. Planting grains and seeds in their yard. We also have some of our orchard in the yard, it will offer shade to the other plants plus the chickens. I want other greens such as herbs and comfrey. After doing some research we decided to add aloe vera as well.

Different Aloe Vera Types

I don’t know much about aloe vera plants and wasn’t aware that there are different types of aloe vera. I picked up climbing aloe vera. It turns out that it was a great choice, climbing aloe vera does well outside and can get very large. Sounds great for the chicken food forest, the chickens can snack on healthy treats.

Is Aloe Really Healthy for Chickens

Yes, chickens can eat aloe, it can be very healthy. Aloe vera has many healing properties, anti-inflammatory properties, and antiviral properties for your chickens. It’s also been known to help with bumblefoot, and other ailments they may suffer from.

Please check out the video that we did for you, like it and hit the subscribe button so you can follow along as we work on our chicken yard food forest.

Here is to your homesteading dreams,

Shawn

chicken

The Tale of Two Gates Leading to the Chickens

In the beginning we didn’t realize what two gates would do for us or our chickens. Like I mentioned in an earlier blog, you can check it out here. We really wanted to free range our chickens however, not all of our property is fenced and every neighbor has dogs and they don’t always stay on their property and I worry about our girls becoming victims of wandering dogs. So, I talked Ron into building me a very large chicken run.

Two Gates

And this is where the two gates come into our plan. Inside of this chicken run is the beginning of our orchard. Right now, it’s six apple trees with comfrey at the bottom of a couple of the trees. (We all have to start somewhere) One gate is at the front of the orchard and the other gate is at the side of it. This allows us to drive through with a vehicle if we need to.

Happiness Is…

Behind the Scenes

Ron shot a video for us explaining the whys and hows of building the chicken yard so I hope you watch it and then thank him. It’s a lot of work trying to do the job you are working on and also shooting the video. Here’s the link.

Here is to your homesteading dreams,

Shawn