Visit Us On Our Other Channels

Category: Uncategorized

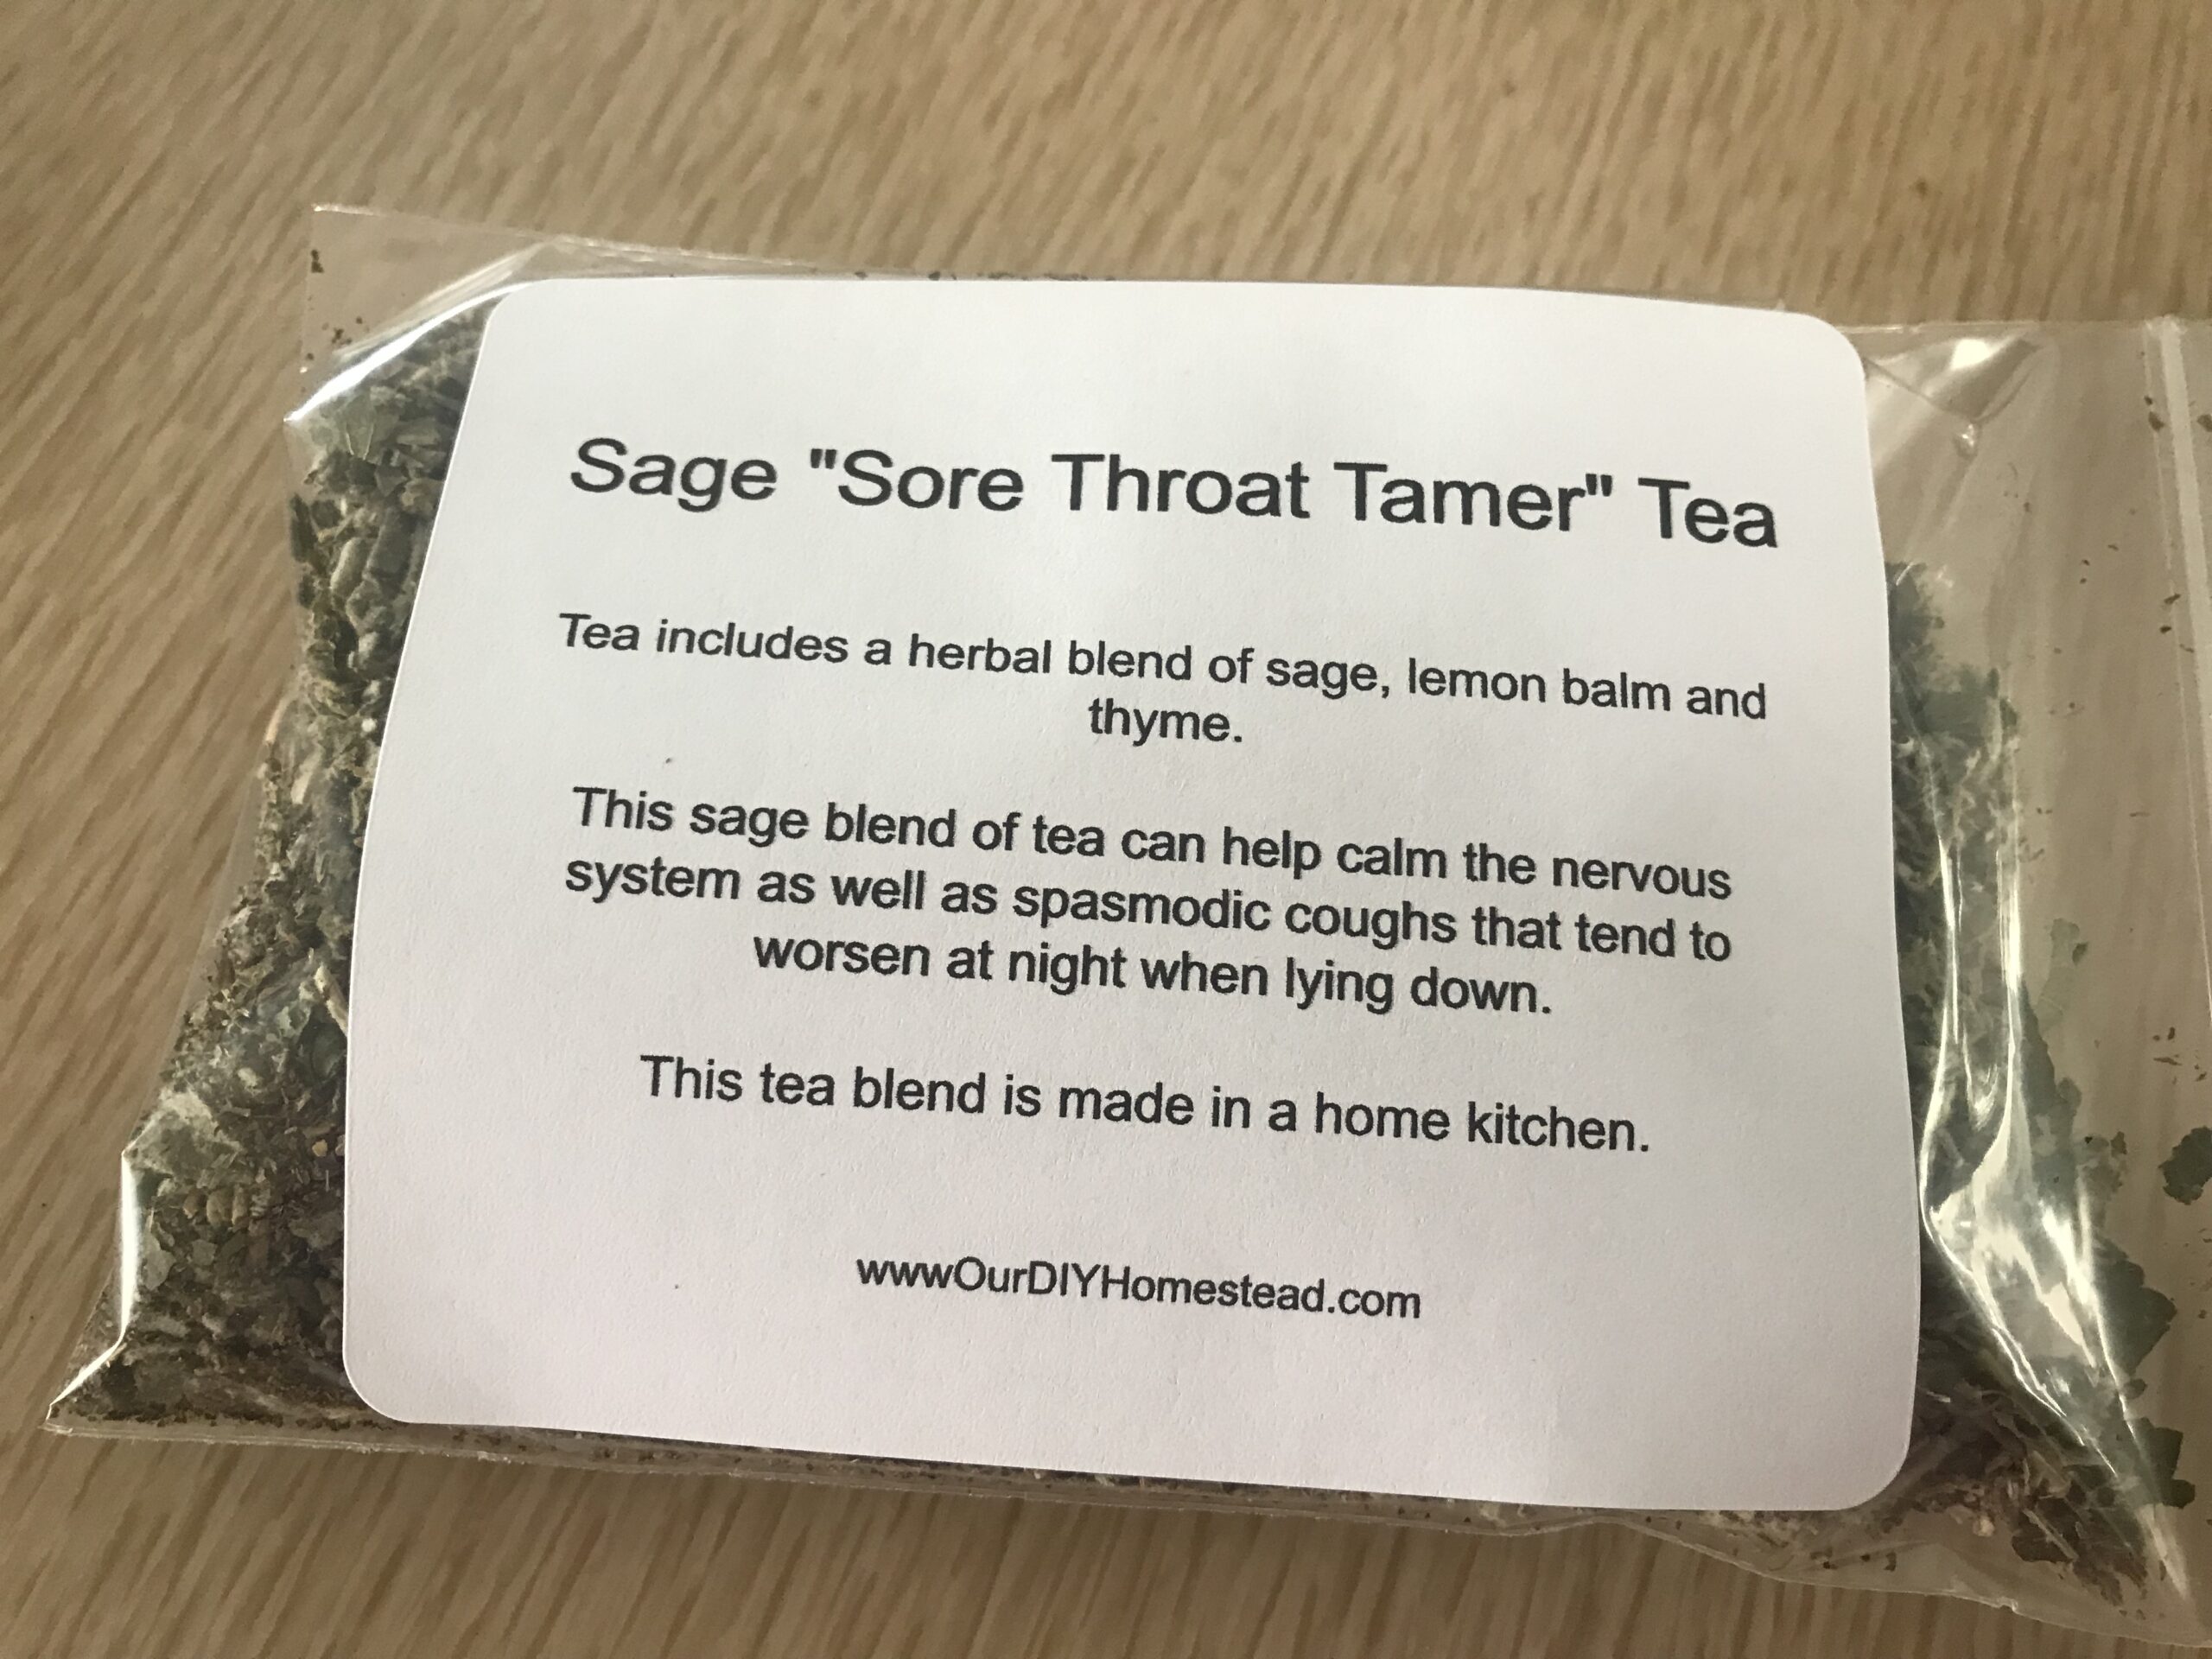
Lemon Balm “Sweet Sleep” Tea

basil & lemon balm

Lemon balm “sweet sleep” tea is the answer to what a lot of people are looking for! With the crazy winter weather we are having this year a lot of people have been ill. It is hard to rest when you are battling the flu with sore throats that brings on coughing and sneezing. Your body needs some help in kicking that flu or common cold. Providing some relaxation and rest is just what your body needs. So, we all know that rest is the most important tool towards feeling better. Our lemon balm “sweet sleep” tea is key in helping you get that rest.

Making the Tea

Click here to see how to create the Lemon Balm “Sweet Sleep” tea.

The Herbs

Lemon Balm Herbal Tea

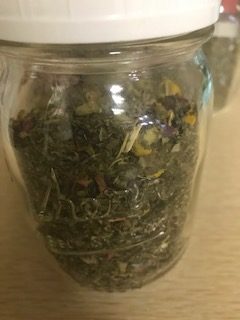
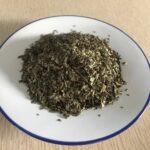
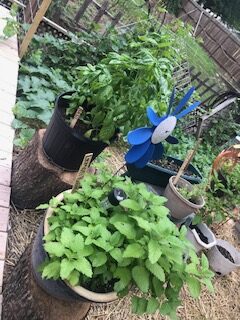
Lemon balm is a versatile and fragrant herb in the mint family, known for its lemony scent and calming properties. It’s a hardy and easy-to-grow perennial that thrives in a variety of conditions.
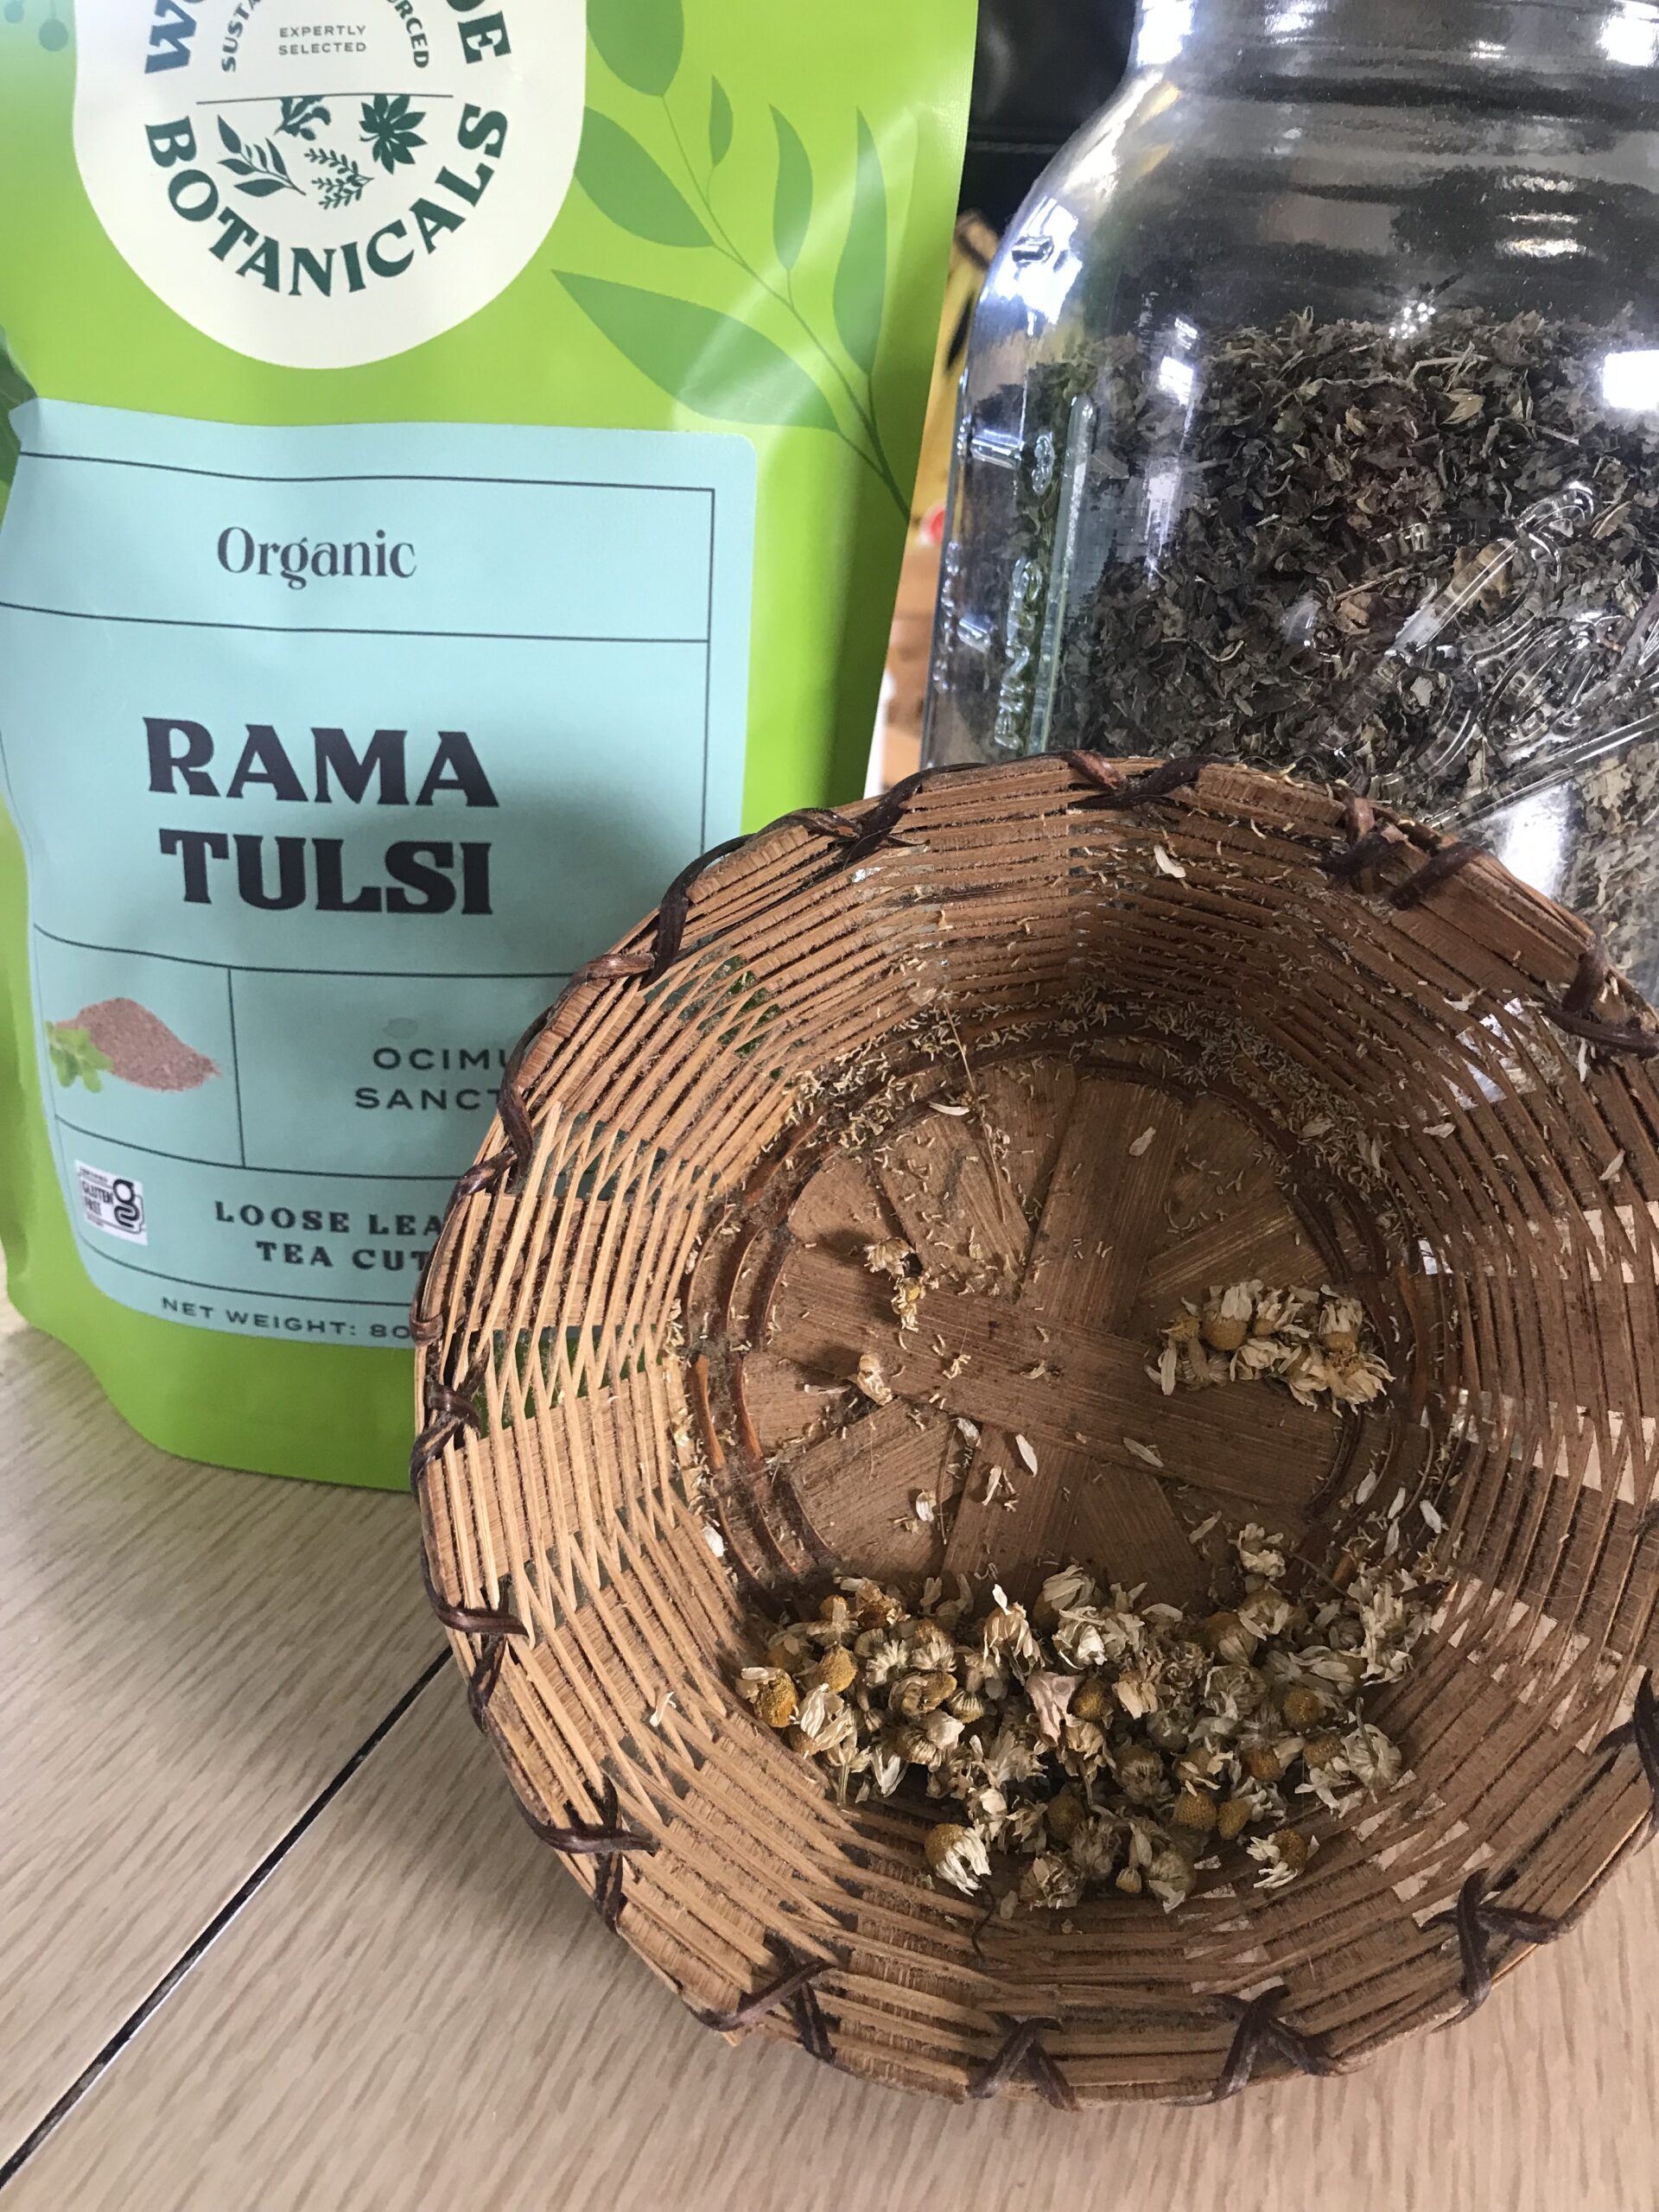
Chamomile is a popular herb known for its gentle floral aroma and calming properties. Chamomile is most commonly consumed as a tea.
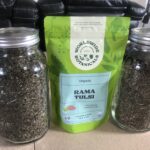
Tulsi, is a sacred plant in Indian tradition. Known for its aromatic leaves and medicinal properties. It is easy to grow and thrives in warm climates. Combining the three herbs is what makes the Lemon Balm “Sweet Sleep” work so well in helping your body get the rest it needs.

I’ve been making medicinal herbal tea blends for my own use for years. Here is an article I wrote back in the day about organic medicinal teas. My interest has only grown in this field and I finally took the step toward offering medicinal herbal teas to the public. The teas I offer are made in house, blended with love and care. Most herbs are organic and non-GMO. The teas we offer to you are herbal teas with medicinal values. Here is a link directly to the Lemon Balm “Sweet Sleep” tea.

Here is to your next cup of tea,

Shawn

Time to Start Veggies for Hydroponic System

It’s hard to believe that it’s time to start veggies for the hydroponic system. After all, I’m in North Texas and we are getting hit with so much cold, snowy weather. Which makes it difficult to get the hydroponic system set up outside. And I know my northern friends have an even longer wait. I am still going to go forward with the belief that there will be a place to put these veggies when it’s time for them to be planted.

You can watch how I start the hydroponic seeds by clicking here.

A Veggie Is A Veggie

You might wonder if there is a difference between a veggie seed for a hydroponic system versus a veggie seed planted in a dirt garden. The answer is no, the difference is the planting material. Most of us are use to starting seeds in a planting mix which I do for most of our garden. However, the veggies seeds I start for our hydroponic systems I use a material called “rock wool”. The seed grows roots in this medium very well. It also protects the hydroponic system from dirt which can contribute to clogging the system.

Watering System

The thing that keeps me drawn to a hydroponic system is how water is used to grow the veggies. The main water source for the system might be an upfront heavy use of water. In our case we will be filling a 275 gallon tote full of water. That is a lot of water! However, it’s all the water we will need for a season of growing plants. A hydroponic system is a closed loop of circulating water so except for some evaporation the same water is used over and over again.

Here is a blog I wrote about starting our first hydroponic system

In North Texas this is important and very helpful because there are always water restrictions in the summer which makes it very difficult to keep the veggie plants alive in the heat of the season when watering the garden is very restricted. These totes are easily found and relatively inexpensive, we found ours on Facebook Marketplace.

Here is to your homesteading dreams,

Shawn

Tea That Tames Your Sore Throat

Today, I’m going to be telling you about a tea that tames your sore throat. This is important because with the type of weather most of the United States is experiencing with the warm weather and then the plunges of cold in between, it makes me think we are on a weather roller coaster. With this type of weather people get sick and experience a sore throat. Well, never fear – I bring to you a herbal tea that will help fight a sore throat. I lovingly call it, Sage, the “sore throat tamer” tea.

Herbal Tea Blend

This herbal tea blend is created from 3 different herbs, sage, lemon balm and thyme. The sage is antibacterial, anti-spasmodic and antiviral and it will help the sore throats caused from bacterial or viral infections. The lemon balm helps with adding taste to the tea and also is a relaxer component for your throat. The thyme aids in healing of your throat.

You can watch the video of me making the tea blend right here.

What I love about this sage tea that tames your sore throat is these are medicinal herbs that are used to create the tea blend. My first stop in helping a sore throat can be a natural remedy not an over-the-counter product.

This was important enough to me that I started making this tea for myself and I wanted to share it with others as well.

Order Your Own Sage “Sore Throat Tamer” tea

All of my teas are made in house, blended with love and care. The teas I offer to you are herbal teas with medicinal values. If this tea sounds like it would be helpful to you please visit the “Our DIY Homestead” Shop and you can order your own Sage “Sore Throat Tamer” tea.

To Your Cup of Tea,

Shawn

The Magic of Peppermint Tea

On these cold, blustery days nothing warms a person up better then a hot cup of peppermint tea. The magic of the tea comes from the many ways it helps your body mentally and physically without the tea drinker even being aware of it. After learning what a cup of this tea does for you, believe me you will enjoy it even more so.

Really, the first thing that I notice when making the tea is the smell of the peppermint. My mouth is already watering in anticipation of that first sip! There are many benefits of drinking peppermint tea. Some of which are it can help calm a headaches as well as help with relaxation from anxiety and stress.

I like making a loose leaf tea blend of peppermint, lemon balm and tulsi. The blend brings out the right notes in each herb to make a delicious herbal tea. It is able to warm your body, helps with making you feel better physically with headache relief and also helps with relaxation easing stress and allows anxiety to ease. There is no need for popping pills for relief, it can come from three herbs. It all happens from the magic of peppermint tea. Wow, what a drink!

I believe in the magic of this tea so much that I have started creating it right here at home and offering it to others. All of my teas are made in house, blended with love and care. The teas I offer to you are herbal teas with medicinal values. If this tea sounds like it would be helpful to you please visit the “Our DIY Homestead” Shop and you can order your own Peppermint Calm & Refresh Tea.

Happy Homesteading,

Shawn

cantaloupe & watermelon patch

Benefits of a Fall Garden

Lack of Heat & Bugs in the Fall Garden

The benefits of a fall garden for one is the lack of bugs and heat. In North Texas both are an extreme problem during the summer. With the hundred degree weather right now and most of my summer garden dead I am looking forward to cooler weather the ease of a fall garden. If you are having the same hot summer as I am I just wanted to encourage you to not give up on gardening before you look into having one in the fall. There can be great reward in the garden you raise as well as in your mental state of mind.

Bugs in the garden

I live in zone 8a, North Texas and when I say our summers are hot I am not exaggerating! We deal in 100 degree days fairly regularly which is very hard on a plant. I wrote an article on weather and gardening here.

But there is hope! With the end of August the days get cooler and the bugs get fewer. I am in fall garden mode!

We have already talked about the first benefit of gardening in the fall and that is the lack of heat and bugs.

Root Veggies and the Fall Garden

Veggies in the fall garden

I think the fall garden is perfect for root veggies. I can’t get carrots or beets to grow during the summer garden. But in late fall I can spread some carrot seeds out in a raised bed and end up with beautiful carrots in the Spring. Check out my blog about growing carrots here. There are so many delicious root veggies to choose from and the wonderful thing about them as some get sweeter in taste as they are touched by the cooler weather.

Enjoying a Breath of Fresh Air

To me one of the biggest benefits of a fall garden is just enjoying being outside. Having dirt under my finger nails and the wind blowing in my face. It makes me feel alive again and enjoying the act of gardening; planting seeds, watching seedlings grow and the crunch of a veggie as I take a bite out of it. Like I said earlier the garden you raise can be helpful to your mental state of mind.

Please take a moment and check out the video I did for you. It tells about how 2024 has been a hard year for us. But the fall garden is calling and I’m getting ready for it. I hope you are too!

Here is to your homesteading dreams,

Shawn

Carrots, Carrots, Carrots!

Carrots, Carrots, Carrots, we just harvested our fall carrot crop and were very pleased with it. I thought we would talk about the best way to harvest them from the garden, how to store them long term. I might even share one of my favorite carrot recipe.

Harvesting Carrots

When you harvest carrots and plan on storing them the best way to do that is to gently wipe the garden soil off them. A gentle hand going up and down on the carrot wiping the dirt off is as far as you want to go cleaning the carrots. Don’t wash the them off with water.

Carrot Tops

Next, cut off the carrot tops right above the carrot. We do this for two reasons, one it makes it easier to store the carrots and secondly, the tops draw moisture from the carrot. Now, there are several things that you can do with the tops. Making pesto with the tops is delicious! We really like it with root veggies. If you have animals they like the tops too. If you don’t use them in those ways you can compost the carrot tops.

Storing the Carrots

The next thing I do to store them is to create bundles of 12-15 carrots. Then I wrap them in a damp paper towel. Put them in a plastic bag such as a grocery bag and tie the handle. Then store them in the bottom of the fridge. A 2nd fridge makes it convenient to store and then take out a bag as you need it. If you would like to see how I set it up I have a video that you can check out here. If you would like to see more garden videos please subscribe to the channel. Here is a link to the YouTube channel. Hope you enjoy!

I promised you a carrot recipe that we really enjoy during the summer. Carrot salad is so easy all you need is 4-6 shredded carrots, 2-3 cups of raisins, an apple cut in bite size pieces, and then about a cup of mayonnaise. Stir and enjoy, Yum! Let me know if you like carrot salad.

Here is to your homesteading dreams,

Shawn

Water Problem in the Grow Room

I have a story to tell you…about a water problem! Now, this story is of a girl and she has to get water to her inside grow room. There are lots of plants in the grow room… I mean a LOT of plants! Here is a picture so you can see how serious I am.(sorry for the pink background, it’s from my grow lights.) For those of you who don’t know I am a full-time wheelchair user and have faced the difficult chore of watering all of my plants. My husband, Ron normally brings in 5 gallon buckets of water. I would scoop and pour water into each section. It took a lot of time and was very messy. Usually, I ended up mopping the floor after every watering. There had to be a better way!

Seeing The Water Problem

It just so happens that my grow room is right next to the bathroom. My wonderful husband (I hope he reads this so he knows I’m giving him public recognition!). Knew how difficult the watering chore was. He decided to fix the water problem. He was able to splice into the cold water line connection from the shower and run a water line into the grow room! If you would like to see part 1 of how he did that check it out here.

Fixing The Water Problem

This is an easy DIY project that many homeowners can do themselves. After a trip to the local hardware story or a quick shopping trip to Amazon for cpvc line, elbows, tees, ball values, hose adapters, primer and glue (affiliate links to above for parts) we are working on getting a permanent waterline into the grow room.

Stay Tune for Part 2

If you would like to see how Ron used all of the parts to create a permanent water line into my grow room you can subscribe to our YouTube channel to keep up with the water problem in the grow room.

Here is to your homesteading dreams,

Shawn

The Story of a Seed

I believe that the story of a seed holds wonder and creation within itself. Looking at one little seed it can be hard to believe that there is life just waiting to burst forth. To me it doesn’t matter what life is inside, it can be a flower, vegetable or herb. I love the way God created a seed, let me explain more here. Within that little seed it has all it needs for the first few weeks to take care of itself. Give it a little dirt and water and then stand back it can take care of the rest. We have learned to do the menial jobs of taking care of the seeds that we plant and at just the right time the beauty from the seed emerges and is the reward for all hard work we have done.

Seedlings

I have shared with you in the past that I don’t have a green house but I do have a grow room. My gardening zone is 8a and that is only important in my story because it tells you that I start my seeds on January 1st. I did that this year and as of this writing it is now January 31st. I have planted a lot of seeds and I now have a lot of seedlings! It makes my heart so happy I could spend all day in my grow room with my seedlings. I’m transplanting them into larger containers and just now am adding to the soil a little bone meal to help with the transplanting shock. The seed didn’t need anything from me except for dirt and water up to this point.

Plants

Now most of my plants have their true leaves; which means leaves that will look and function like the leaves the plant will have for the rest of its life. I will transplant them usually into larger containers to keep them in until it is time for them to go into the ground. At this time I usually use a little fertilizer to keep them healthy until it is time for them to go outside.

P.S. I shot a video a few years back explaining how old a seed can be before it’s not viable anymore. Feel free to take a look.

Here is to your homesteading dreams,

Shawn

Disclosure: Some of the links above are affiliate links. This means that, at zero cost to you, I will earn an affiliate commission if you click through the link and finalize a purchase.

The Best DIY Soil Sifter

Soil sifters…you are a gardener, aren’t you? See, I know you are a gardener because nobody else will get the thrill of a soil sifter like us gardeners. I have tried so many different ways of getting large chunks of bark, small gravel pieces and rock hard soil that is bonded together out of my soil! I’ve used a plastic fork to rake the chunks out of my way , I’ve spent hours picking large wood pieces out of the soil. Some might say go get some seed starter mix. I never seem to have that when I’m ready to start seeds. I always have chunky soil laying around somewhere.

The Dream Is Real

I’ve been bringing up the idea to Ron about needing a soil sifter for awhile. So, this winter as I’m getting everything out to start seeds I sighed to Ron again about needing one. I was happily surprised as he started to gather the materials and fulfilled the soil sifter dream that I have had.

Building the Soil Sifter

Most of the things we build are from scraps that Ron has from other projects and this is no different. The wood was from his pile of lumber. He did buy a fresh roll of screen that would work for the project. If you are handy with a saw to cut your wood to the length you want; know how to use a stapler and a screw gun then you can make your very own DIY Soil Sifter. I will leave you in the capable hands of the guy who built me mine. Check out the video he created while putting together my DIY soil sifter. I’m going to have to paint it! What color do you think? Red, yellow, blue?

I would love it if you built one and sent me a video showing me! So, happy seed starting, I know it might be early for some of you all but I know the dream is real for all of us.

Here is to your homesteading dreams,

Shawn

Learning About the Chicken Chores

Learning about the chicken chores, it’s funny how 14 cute little chickens can take up so much time and attention. That is exactly what our hens are doing with Ron and I. They are close to the house, maybe to close but I can enjoy them from the living room window so I’m ok with where they are. Plus, I love to hear them cackle after they lay an egg and squawk as they eat bugs out in their run. However, I’m not very involved in their day-to-day care so I found the video Ron did this week very informative.

Scraping It Together

My husband can build just about anything and he built the original run and their coop. He used mostly scrap wood to complete the project. One thing to keep in mind is that the run and especially their coop needs to offer them protection from the weather and from predators. You can see what he did here. If you have access to a pallet it is easy enough to put up the walls and a roof for a nice, inexpensive shelter for your chickens. He added the side wing to the main chicken run and the roof after we got the main coop finished.

Chicken Chores

Probably the most important chicken chore to learn about is watering the chickens. It’s always important but if it is in the middle of a Texas drought chickens need to be watered at least once a day if not more. Something we didn’t know is how much they like to play in water. Ron is always scrubbing out the water buckets because of dirty feet splashing in the water.

Of course, feeding them is also important. Ron made their feed tubes to help keep their feed clean and dry. He explains it really well in the video which you can watch here. He says that the tubes hold about 15 pounds of feed and last our 14 hens a week to a week and a half.

Worth It?

So after hearing about the shelter chickens need and the feeding and watering chores you might ask yourself if it’s worth having chickens. Ron and I think so, it’s not unheard of to go sit in the back and watch the girls (hens). But really, only you can answer that question.

2 gates and chickens

Here is to your homesteading dreams,

Shawn