Visit Us On Our Other Channels

Author: DiyGarden

Fresh, Organic, Medicinal Herbal Teas

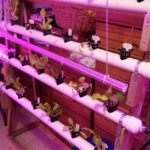
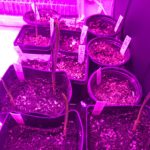
So, I shared with you in a past blog about a herb tea class I am taking. I have really enjoyed it, it went much deeper than I thought it would into herbs teaching the botanical and common name, the plant family, botanical description, parts of the plant to use for making the tea, the medicinal take and actions of each herb, different ways each herb can be used medicinally, which parts of the body the herb helps, any safety concerns of the herb and then cultivate the herb. How to plant, sow, and harvest the herb and how to store it. What companion plants go with the herb and also its flavor pairings what food tastes well with the herb. It was a great class!

It was so much fun making these teas. I not only am making them to help with my own health but I am hoping to offer them to others as well in the near future.Shawn S.

Fresh, Organic, Medicinal, Herbal Teas

Peppermint

Peppermint Herbal Tea

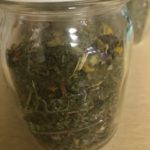
Today, I want to share with you the first four teas I made. The first herb I worked with is peppermint. I made a tea blend with peppermint, lemon balm and tulsi, which is called Peppermint Calmed and Refresh Tea Blend. This blend helps with headaches as well as calming the nervous system so it helps with stress and anxiety. The smell of this tea is incredible and the taste is so smooth and tastes so good with the fresh, organic herbs I used to make the tea blend.

I just tried the “Peppermint Calm and Refresh” Tea blend that Shawn made. It was delicious. Not too strong and not too weak. Can’t wait to taste the others tea blends she is working on. – Ron S. Texas

Lemon Balm

Lemon Balm Herbal Tea

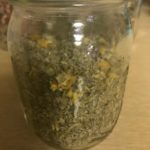
Lemon Balm is the next herb that I worked with. This herb is known to work with the nervous system, immune system, liver and your circulation. This tea blend is made with lemon balm, chamomile, rose petals and tulsi, and is called Lemon Balm Sweet Sleep Tea Blend. This is the perfect blend that brings calm and soothing so it is helpful to bring peaceful and restful sleep.

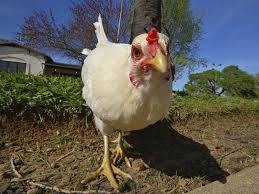
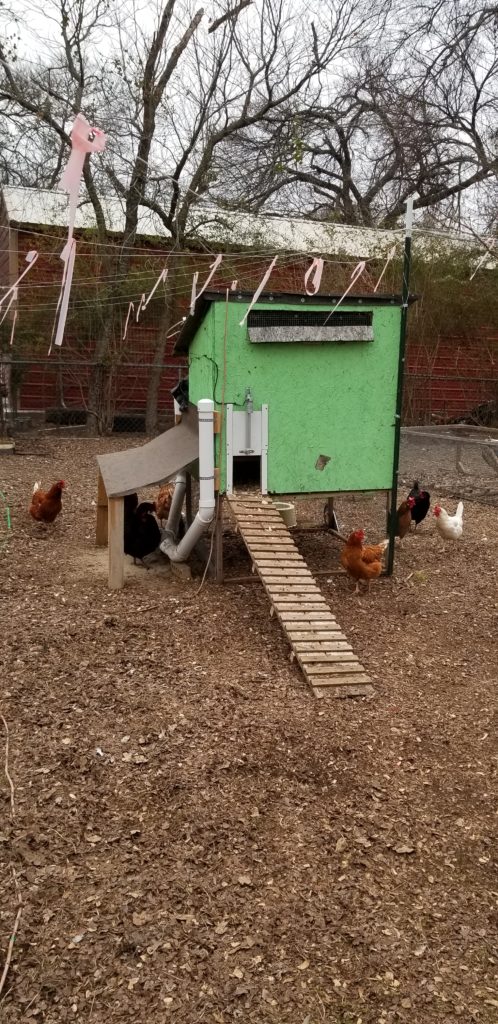
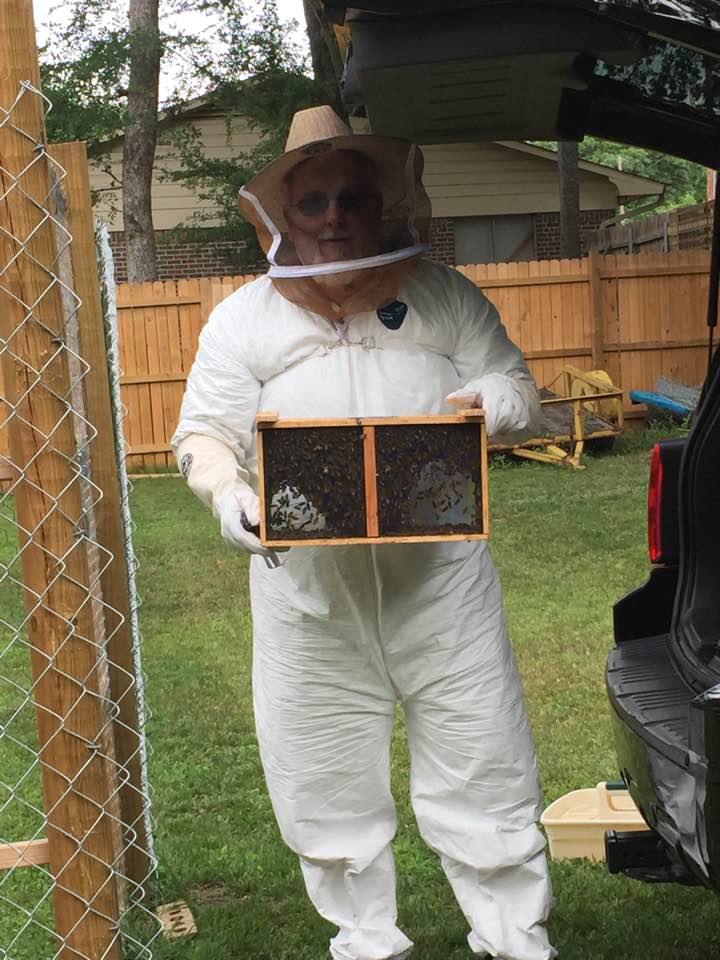
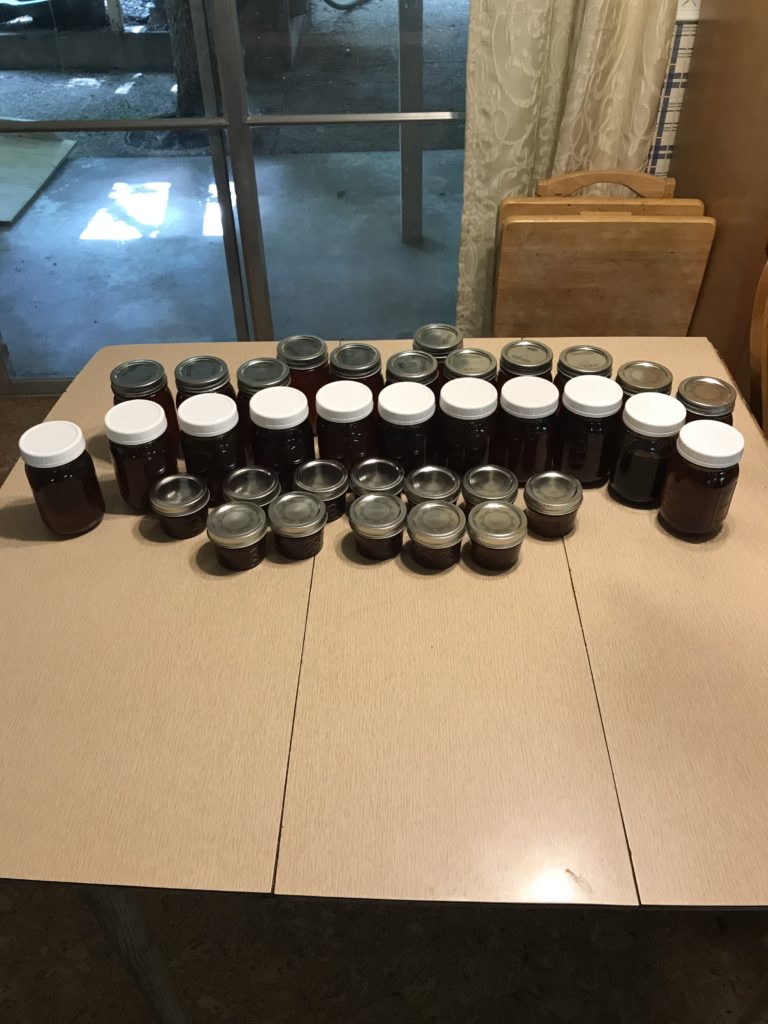
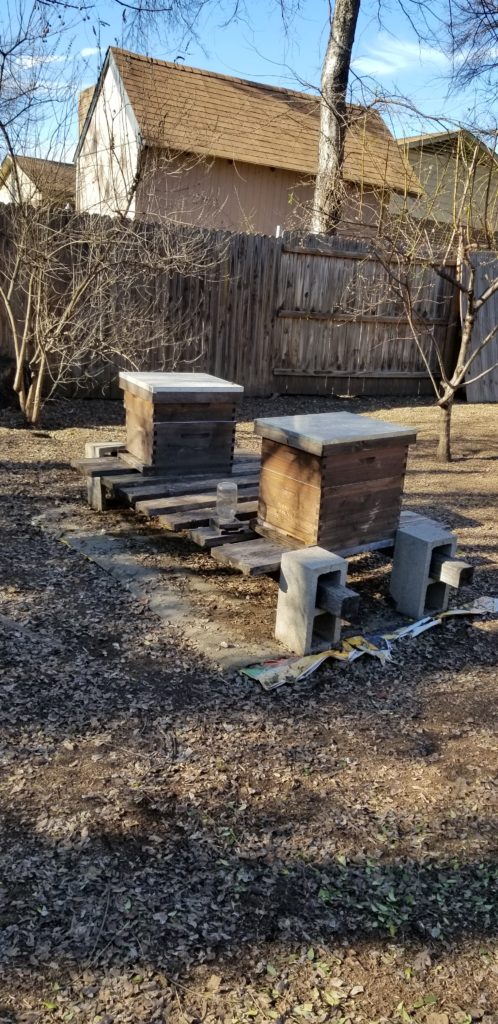
I add a heaping teaspoon of fresh honey right out of our back yard to every cup of herbal tea. If you would like to see some more ideas with honey you can click here.

Rose Petals

Rose Petal Herbal Tea

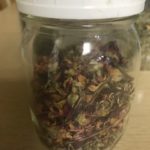
I also got to play with rose petals and made a great herbal tea with it. Rose petals help with your nervous system, immune system, the heart, blood and kidneys. It is important to use wild roses and make sure the roses are not sprayed with pesticides. This rose petal blend also uses lavender and peppermint. It smells marvelous and is so pretty with the rose petals in the tea blend plus it tastes amazing. This blend is called the Rose Petal Cheer Up Tea Blend.

Lavender

Lavender Herbal Tea

Next, I made a herbal tea blend with lavender. We all know lavender and its wonderful smell. Did you know it also affects your nervous system, your skin, digestive system and respiratory system? This tea blend is made with lavender, chamomile and tulsi and called Lavender Relax Tea Blend. This blend helps with anxiety, insomnia and sleep disorder as well as restlessness.

The four fresh, organic, herbal teas I made are Peppermint Calm and Refresh, Lemon Balm Sweet Sleep Tea Blend, Rose Petal Cheer Up Tea Blend and Lavender Relax.

Our First Hydroponic System

We have been thinking about different ways to grow fruits and vegetables. Beside planting them in the dirt and were very interested in hydroponics which uses water. There are many benefits to growing using a hydroponic system.  You can literally grow anywhere you have space, a hydroponic system uses 20 time less water than if you had planted a traditional garden in the soil. The environment that the plants grow in is sterile because there are no pesticides. You use 20 percent less space for growing and there are so many more beneficial reasons to use hydroponics. The best thing, I believe is that we can reuse the water by recycling it thru the system allowing us to conserve water.

Recycle and Reuse

With all this information we decided to build our very first system. Now, we can let you know that we are big on recycling and reusing anything that we can get our hands on. Our first step was to find a place that we were wanting to use for our first setup. Once we figured that out it was time to see what we could come up with as a design for the system.  Awhile back we tore down a deck to make room for a strawberry patch that didn’t work out to. Anyway, we started digging thru a pile of treated lumber to figure out what we had for the structure that would hold the PVC pipes.

Building the System

Once we had that figured out, we built the frame and it ended up being 4 feet wide and 4 feet tall and about 14 inches deep with a slight angle between the bottom and the top. We figured that we wanted 4 rows with 6 spots in each row totaling 24 places to have vegetables growing.

Now it was time for the PVC pipes. We used 2 inch pipe and we drilled 1 ¾” diameter. holes to hold the 2” net pots. After we had the holes drilled and the pipes all deburred and cleaned out it was time to glue the end caps on. Before we did that though we drilled and tapped a ½” NPT hole in each end cap. Because we were going to use a plastic fitting and some hose to connect each row of PVC pipe. We had some plumbers tape left over, from when we built our chicken coop, that we used to hold the pipe to the frame.

Success

Now that everything was assembled it was time to hook the pump up that would circulate the water and do some testing. We had a 5-gallon bucket that we were going to use as a water reservoir. So, after filling the bucket up and hooking the pump up it was the moment of truth. After plugging the pump in the water started to flow up to the top pipe and then back and forth thru all the pipes and then returning to the bucket. SUCCESS everything was running like it should and with no leaks. After everything was said and done we spent less than $50 on the whole thing.

We have written about the first planting in our hydroponic system that you can read about by clicking here.

Onto the next system.

Do You Have An Herb Garden?

Having an herb garden has always been a dream of mine however; gardening has always meant veggies in my mind. I have been doing vegetable gardening for most of my life.

In the Beginning

I grew up on a cattle ranch in Montana and we had a very large garden there. I did not enjoy working in the garden pulling weeds and watering it, I would rather be out riding my horse. After I got married I started gardening again and I enjoyed it more but it became more difficult as the kids came along. And true to kid form none of them enjoyed working in the garden. It was hard to keep a garden up, raise kids and keep the small farm that we lived on running too. It was worth it to keep fresh veggies coming into the house and to can what I could for the wintertime but it wasn’t exactly enjoyable. Now that we are empty nesters I am enjoying gardening once again.

Taking the Herb Class

garlic

The class focuses in on six herbs and I’ve been able to find seeds for some of the herbs that we are talking about in the class, Echinacea, garlic, sage, and cayenne. I already have the garlic coming up in my grow room. I have just planted Echinacea, sage and cayenne. I’ll probably order the Elderberry shrubs and mullein online.

My biggest problem is the area I have for my new herb garden has shade, a lot of shade. Most herbs like the sun so my plan is to keep the herbs in pots this year and rotate them so they aren’t in the shade all the time. There are four trees that shade the area and I’d like to cut them down but that isn’t in the budget this year. It is all about adjusting and working the best with the areas that we have for our gardens.

herb seeds

The class talks about the history or the herb, how to grow it, how to store it and then make an herbal remedy from the herb. It has been so interesting. I know this will be a jumping off point for me to move forward and learn more about herbs.  

What is Your Herb Garden Dream

I’d really love to share with you the things I learn in my herb class so be looking for those blogs in the near future.

Tell me about your herbs. What is your favorite herb?

Chicken Does the Body and the Wallet Good

To me there is nothing easier and more economical to cook with then a whole chicken. Unfortunately, a lot of us have gotten away from cooking with whole chicken because of time and lack of knowledge of what to do with it.  I hope to prove to you that it’s easy to cook a whole chicken, it tastes better, it’s cheaper than buying the different chicken parts individually and did I mention it will taste better?

Google tells me that on average a whole chicken costs $1.28 a pound nationwide. That is high for my area; I can normally find it around .95 cents a pound. Either way, a whole chicken is a great deal because of the amount of different meals you can make with one chicken.

By buying whole chickens the cuts of meats stay more moist and juicy on the bone which makes for better meals. And it couldn’t be easier to make meals with your whole chickens. I usually buy two whole chickens at one time. However, I treat them totally different, one I boil and the other I roast.

To boil the chicken get your dutch oven out and place the whole chicken in it. Cover with water adding a little salt to the water. Place on the stove and turn to high. Cover pot and bring to a boil; reduce heat to a gentle boil and cook for about 90 minutes, or until chicken meat is falling off of the bone. With the boiled chicken I like to make chicken salad with the while breast meat. With the dark meat I make chicken soup. Then I boil all the bones and make a bone broth. I like to use that broth to make potato soup. Find the recipes by clicking this link.

To roast a chicken preheat the oven to 350 degrees. Place chicken in a roasting pan, and season generously inside and out with salt and pepper. Bake uncovered 1 hour and 15 minutes. Serve the roasted chicken  with a side of mashed potatoes. Add some of the chicken to a nice green salad, and the dark meat goes into a chicken and rice dish. Then boil the bones with veggies and make a broth. I will either put it in a gallon zip lock baggie or have it in the fridge if I plan on using it soon. If I have a lot stored in the fridge I like to can it for long term storage. Find the recipes by clicking this link.

So, if we buy two whole chickens that weigh 8 to 10 pounds using our $1.28 per pound figure we would have spent $25.60 for the protein for six meals and some gorgeous bone broth to use for future meals!

That is sweet for news for the food budget!

Joys of Our Backyard Chickens

Today I’d like to talk to ya’ll about our backyard chickens. We have been asked “Why do you have chickens?” One of the reasons of course is getting fresh eggs every day. Also, we really enjoy sitting on the back deck and watching them in their yard. They are a blast because they are so curious about everything.

Inside their yard we have 2 bee hives and a few fruit trees. You’ll look out there one time and they are on top of the hives. The next time they will be on top of some cinder blocks that are in the yard. We also have a run that we attach to the coop, that we use to keep the young chicks safe while they grow and fully feather out. It is also out in their yard that they like to jump on and walk around on. They also like to roost on there when the weather is nice enough.

Feeding & Watering

When we first got the girls, yes they are all hens. We use to go out to the yard everyday with fresh water and feed. That got to be very time consuming so we changed the waterer and feeder. We have the bottom of a plastic barrel that we use for their water. It is kept it in a shaded part of their yard so it stays as cool as possible in the summer heat. We also make sure the we drain it and scrub it clean once a month. A hose is ran from the house so we don’t have to carry buckets of water out there every day. 

Another thing that we have done is build a feeder that holds enough feed for the week. It is made out of PVC and holds enough feed for a week. I will go into how we made it in another blog. Now that we have the bigger waterer and feeder, we can spend more time on other things like watching the hens play.

Keeping the Chickens Home

After all that work, we thought we could just sit back and enjoy the chickens. Then some of them decided that they wanted to be on the outside of their yard and started flying over the 6 foot fence that we have around them. We knew we could keep them safe on the inside of their yard but not so much on the outside. Now we periodically have to clip their wings back to keep them from flying over the fence. This doesn’t hurt them at all and they actually grow back.

At the End of the Day…

We highly recommend that you get chickens. Check your local codes to see if it is legal for you to have them, put in some elbow grease and enjoy. They are a great stress reliever after a long day.

How Old is an Old Seed?

So I had some old Italian Flat leaf Parsley and Genovese Basil herb seeds sitting around and I wanted to try them in our hydroponic system to see if see if I could get them to germinate. I waited two weeks and saw nothing so into the trash bin they went but it started me thinking how long are seeds viable? After doing some research I learned that all seeds are viable for at least a year, with many others viable for definitely two years. After that second year the germination rate may start to drop off.

There is a trick to see if a seed will germinate.

old seeds

There is an easy test you can do to check to see if there is life left in your old seeds. Take your seeds and put them in a container of water. Let them sit for about 15 minutes. Then if the seeds sink, they are still viable; if they float, they most likely will not sprout.

There are other reasons besides age that your seeds might not germinate.

If they are planted too deeply, or planted in cold soil, the extremes of watering, improper soil preparation, birds or squirrels are the most common causes for seeds failing to germinate.

Ok, so you have old seeds if they germinate will the fruit be good?

The experts say that planting old seeds is not only possible it’s okay. The flowers and fruit that come from these seeds will be of the same quality as if they were grown from fresh seeds. The nutrition from old vegetable seeds are just as nutritious as those from current season seeds.

What is the proper way to preserve seeds for years?

Different kinds of seeds can be saved, each in their own individual paper packets. Make sure that you put the date of the seeds on the packet. Keep seeds dry and cool. Store these packets in tightly sealed glass containers. Putting them in the back of your fridge is the ideal place to keep them until you need them again.

With the price of seeds it’s important to take the best care of them that you can. If the current season’s seeds aren’t used take the time to properly store them for the next. Also, if you are gathering your own seeds take the time to learn how prepare them properly for storage. The time and money that this takes is worth it and you will thank yourself for doing so. I know that I am going to be more careful and store my seeds properly It will help me not be disappointed when they don’t germinate and it will help save my money because I’m not buying seeds that I already had but didn’t take care of.

How do you save your seeds?

Honey from Our Own Backyard

We Become Beekeepers

Four years ago we decided to get a couple of bee hives and have some honeybees. I had met a couple of people around the area that had them and were keeping them in their backyards, so I knew we could have them too. We had been talking about getting honey bees because we wanted the pollinators for our fruit trees and garden and also for the honey!

Harvesting the Honey

 We joined a local beekeeping association were we took a year-long class teaching us all things about bees. Before I knew it we had two hives and had bought a couple of bee nucs. A bee nuc is a small nucleus of bees which includes the queen and worker bees that goes into the hive.

Ron in his bee suit and our first bee nuc

It takes a year for the hive to become established and after that we gathered honey in the early spring. This allows the bees to restock their hives with enough honey to get through the upcoming winter. Ron usually feeds them sugar water in the early spring and late summer to help them make enough honey to keep them alive.

Honey

The great thing about the bees is that there are several different products that you can get from them. Just the honey itself so much can be done with it.

Spiced honey: There are so many different spices to add to honey. We have added ginger and really enjoy that flavor. My husband’s favorite treat is honey and peanut butter on toast.

Honey medicine: Adding cinnamon to honey and then placing a stick to make a lollipop or forming balls is a great add to your medicine cabinet for a cough for colds or allergies.

Honey candy: These are a fun way to eat the honey. Seal the bottom of a straw and fill feel them with honey and add some flavored extracts.

organic honey
Ron harvested 23 pints and 12 half pints of raw, unfiltered, organic honey. Yum

Wax

Candles: Candles are a great way to use the wax that come from the honey harvest. Different essential oils can be added to the wax for the candle.

Lip balms & make up: I haven’t done this yet but I really want to make some lip balm with our wax. I’m not really into much make-up but I know that you can use wax in different face products.

Kitchen Help: Making beeswax wraps acts like cling wrap that can be used over and over again.

As we become more experienced beekeepers we will be able to do more things with our bee by-products such as pollen, propolis, royal jelly, and bee venom.

Bee and blossoms
Bee and blossoms

We really do enjoy the bees on the property. They are easy to maintain and help with the pollination in our gardens. Thinking of all they do I think the old saying of “busy as a bee” makes total sense.

Until next time,
Shawn

January Backyard Honeybees Upkeep

I want to share some things with you that we will be doing with our honeybees every month in order to keep the hives healthy and thriving.

Let me tell you a little about our set up. We live in Ft. Worth Texas on a little ½ acre lot. Our winter season is shorter than most so it doesn’t get really cold and we hardly ever have any snow or freezing temperatures so we are able to do some maintenance with our bees over a 2 to 3-month period. We also have some chickens that share the same area as the bees.

This month we will working around the outside of the hive because our temperatures typically don’t get above 60 degrees so we won’t open the hives to do any inspections because the cold blast from outside the hive could really put a damper on things like killing off the bees. I know that some people ask “Well how do you know if the bees are still in there?” With our chickens in the same yard, we are out there a couple of times a week and when the temperatures in the 50’s we can see that some of the bees are traveling in and out of the hive which tells us that things inside the hive are doing ok. As soon as the weather breaks and the temps are above sixty degrees we will get inside and check things out in more detail.

Backyard Honeybee Hives

We check around the hives to make sure there are no weeds grown up close the hives, within a few feet. We use cardboard boxes that we flatten out and lay on the ground the help control the weeds. Our hives are about 6 or 7 feet away from the fence line so we make sure the fence line is trimmed back to make sure the bees have enough room to fly out and then up. We also check for any dead bees that could be around the hive and make sure that it is all cleaned up. The chickens that we have in the same yard help with that part of it because they eat pretty much anything and everything that they can get a hold of.

We also go thru all of our supplies and restock anything that we are low on. We make sure that our extra frames are clean and ready to go into the next hive that we may be starting.

If you are ordering package bees, now is the time to do so. The new bees will be ready to be delivered in the first part of April. If we keep up with things during the months that we can’t get inside the hive we will be ready for the new ones.

When everything is ready to go there will be less stress on you and less stress on the bees. You can enjoy the watching them flying in and out like a super highway.

Tell me about your honeybee set-up.

Water Not Only Good for the Garden but Good for the Body

We all know how important it is to drink water but if you are anything like me it is so easy to forget to get enough of it to drink throughout the day. But there can be some dangerous consequences if one isn’t mindful of keeping hydrated especially with water. Below let’s look at some of the good things that water can do for your body.

Drinking water helps maintain the balance of body fluids. Your body is composed of about 60% water. The functions of these bodily fluids include:

  • digestion,
  • absorption,
  • circulation,
  • creation of saliva,
  • transportation of nutrients,
  • and maintenance of body temperature.

And here are some of the surprising side effects of forgetting to drink water.

  • you are feeling tired,
  • you are having digestive problems,
  • your eyes are sore,
  • you have an increased risk of kidney stones,
  • you have bad breath,
  • you have aching joints,
  • you have a headache,
  • your cholesterol levels are higher than normal.

Let’s look at some of these more closely

Bad Breath Issues: Drinking water helps with not getting bad breath because of dry mouth. The water washes away food particles and bacteria with will help with keeping your teeth healthier and the bad breath away.

Eye Help: Having enough water in your system helps with reducing eye strain. It also creates the issue of having insufficient tears which can result with problems of clearing particles out of your eyes which raises the risk of vision problems.

Digestive System: Having enough water in your system helps transport nutrients where they belong in your body. This helps with regulating body temperature and digesting food.

Joint Help: Water helps keep your joints lubricated and working well and also maintains healthy tissue. The Synovial fluid which lubricates the joints is made up primarily of water so it depends on the water in the body.  

Kidney Protection: Drinking enough water helps your body flush out waste through your sweat and urine. It also helps to prevent kidney stones and protects from urinary tract infections. Drinking enough water also helps your body to naturally detoxify through the use of your lungs, liver, and kidneys.

Skin Help: Water helps keep your skin healthy and beautiful. Your skin cells need water and that water will make your skin healthy so it glows and looks younger looking. Without the water your skin will appear duller and make wrinkles appear and pores become more prominent.

Fatigue and Headache Issues: Water helps fight both fatigue in your body and headaches. This is usually brought on because of dehydration. Keeping up with your water assumption will lessen the chances of fatigue and headaches from occurring.

Mood Enhancer: Water will work to fight fatigue, anger and confusion along with your mood problems. Drinking water and fighting dehydration changes the bad to glad.

And my favorite is…

Fat Burning Help: Drinking water is one of the easiest ways to turn up your fat-burning capacity. This is not saying that drinking water alone will cause weight loss; however, if you are eating a good diet and are not dehydrated, you can lose weight.

There are at least three ways in which water may help you achieve a flat stomach.

  1. drinking water helps boost your metabolism,
  2. it cleanses your body of waste,
  3. and acts as an appetite suppressant. 

Amount of Water Needed to Make These Differences: There are many different opinions on how much water you should be drinking every day. Health authorities commonly recommend eight 8-ounce glasses, which equals about 2 liters, or half a gallon. This is called the 8×8 rule and is very easy to remember.

lettuce from hydroponics

Weather & Gardening

Weather Phenomenon…

If you have been paying attention to the weather over the last few years you are aware of the weather issues that the United States has endured. One coast floods and the other coast has forest fires with the Midwest farmers facing problems feeding their livestock and planting crops. You might ask yourself what any of this has to do with you. But I believe most of us can understand how these weather systems can and will touch our lives as we see food prices increase. The scariest situation is the food shortages that we are just starting to see in the states, it makes me wonder what is to come…

Ron and I were talking about the weather issues and how we believe it was going to affect the food system in the United States. We agreed that now would be the time to work towards having a food source year around not just at the end of summer. Gardening has always been a relaxing hobby for me. I love planting a seed and getting a crop at the end of the season. At best I’m an enthusiast but not necessarily an expert in gardening but I am willing to work towards our goal of growing food year around.

Trying New Ways of Gardening…

Fortunately, I’m married to a guy that can build just about anything that I can imagine in my mind. I have done a lot of reading about hydroponics and aquaponics. Hydroponics is growing plants without dirt, in a water system using nutrients for the roots. Aquaponics is the same system with fish in the system under the plants. Figuring it would be easier to start our journey with hydroponics I showed Ron some plans for the system and off he went to designing and building our first hydroponic system.

Hydroponic system 1
Hydroponic system

Our First Hydroponic System…

He built a wooden frame that holds four rows, each four feet long, of 2 inch PVC. Then he used an 1 ¾” hole saw to create six holes in each row. This was enough room for 2” net pots which is what we used to hold the plants so this system equals 24 spots. There is a 5 gallon bucket with a small pond pump which circulates the water through the system. We put a timer on the system that runs for one hour and then shuts off for one hour which helps the system from becoming stagnant.

seedlings in rockwool

The Planting Begins…

I knew that lettuce was an easy plant to grow in a hydroponic system so that is what I started with. I ordered a packet of different lettuce types to try out the system for the first time. The first 10 plants were New Zealand Spinach, Mizuna Mustard, Bloomsdale Spinach, Curled Peppercress Cress, Lucullus Swiss Chard, Green Oak leaf Lettuce, Dwarf Siberian Kale, Butter crunch Lettuce, Roquet Arugula, and Southern Giant Collard.

The seeds germinated in two days and in two weeks the root system was large enough to put into the hydroponic system. I was so excited! The system is almost two months old and we have trimmed enough off two times to help with salad for dinner.

lettuce from hydroponics

Success…

So far our hydroponic system has been a success! The plants are doing well and I think that as long as we trim the plants the leaves will continue to grow back. One of the things we have learned is that the nutrients and PH are important to monitor to keep the plants well nourished.

What are your thoughts of hydroponics?